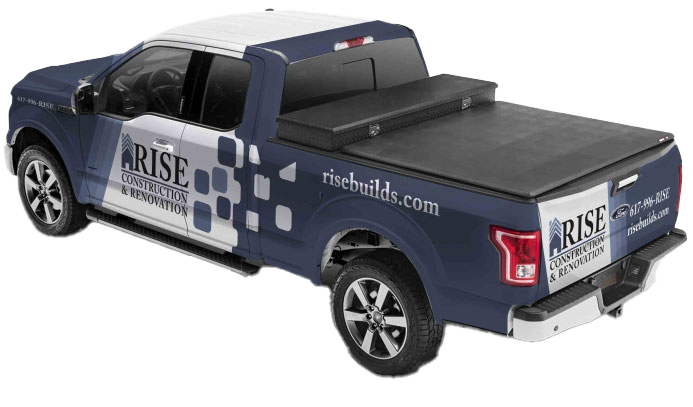
Designing your company’s vehicle wrap graphic is a great way to take the look and feel of the brand into your own hands. There are many different ways to create your very own graphic but we find that using Adobe Illustrator leads to the most successful projects. Here are a few tips we have regarding creating a vehicle wrap with Illustrator and getting the best results.

1. Begin with an accurate template
Using a template is the best way to ensure that the wrap you design will fit the vehicle you are planning to use it on. There are many different places to find templates for cars of all makes and models. After you get a template, however, it is smart to measure the dimensions of the vehicle to make sure they match with the template.
2. Use layers
Having the capability to create multiple different layers in an image is one of Illustrator’s greatest strengths. Setting up separate layers for different elements in the graphic (i.e. the background, text information and images) is good practice in that it will allow you to toggle on and off the visibility and lock individual aspects of your design.
3. Wrap must function as a whole
Too often will we get a commercial truck wrap design that has one great element that is surrounded by far less inspirational design work. Don’t let yourself get caught up in one place while not taking into account how your design looks as a whole. A good way to get the big picture is to zoom out on your composition on screen. That way you can see how your wrap would look from a distance and get a view of it as a whole. Working on a vehicle wrap with illustrator is a great way to get a feel for the entire composition.
4. Be careful of corners
When you’re finally ready to print your wrap it will be printed onto multiple sheets that all fit together with a method known as tiling. The method has come a long way from when it was first used but can still lead to problems around the corners of each section.
5. Use high resolution images
In most cases, the images included on your vehicle wrap are going to get blown up to gigantic sizes. For this reason it is best to only use high resolution images so you are able to retain the quality of the image on the wrap. Using lower resolution will result in your wrap appearing pixelated which is not a good look for anyone.
6. There are some restrictions regarding what can be covered
Using vehicle wraps as advertisement space is a great way to avoid the restrictions that come with covering most surfaces. There are, however, some limitations to how much window space can be covered so as not the affect the visibility of the vehicle’s driver. Make sure you are aware of the limitations in place before you start designing your wrap.
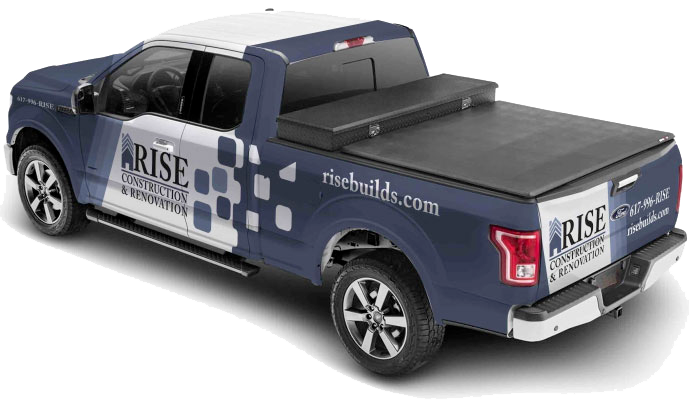
7. Simplicity is key
The best fleet wraps are the ones that potential customers will see and instantly know what they are looking at. The best way to achieve this is by keeping the content on your wrap simple. Having too much to look at will only serve to confuse people who see your vehicle wrap.
8. Save a copy then vectorize your design
When you have completed your vehicle wrap design the first thing to do is save a copy so you won’t inadvertently lose all your work. The next step is to make sure all of your graphics are vectorized so they can be resized to any dimension. The best way to do this is make sure all the type is converted to outlines and you aren’t using any low resolution images included on your wrap.
Get a Custom Look with Wrap Solutions
If you are able to follow these steps designing a vehicle wrap with Illustrator should be a breeze. The process will give you a whole new view of how your brand looks and functions in the real world. The experience is often eye-opening and leads to greater understanding of all that goes into creating a brand. Get in touch with Wrap Solutions to see how we can make your fleet stand out.